‘Spring brings new growth, weed out the bad and make room for something beautiful.’
In a previous post, we discussed composting and how it is beneficial for your farming and gardening endeavors. We also promised that in a subsequent post we would talk about how you can make your own compost pit at home and cultivate nutrient rich fertilizer from which your plants will thrive!
Ready? Here we go!
1. Begin by digging a hole
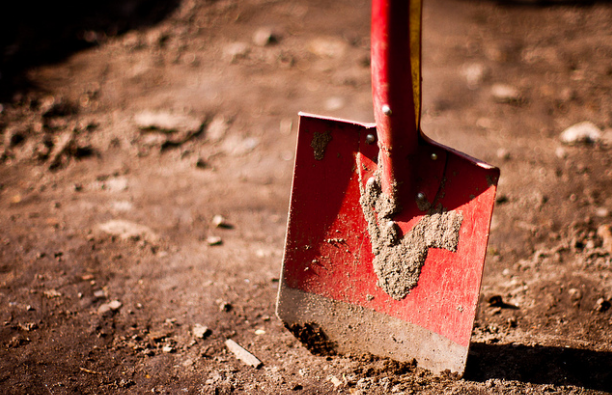
One of the first requirements to start composting at home is to have compost pit. Based on the amount of organic matter you want to make you can select the area of the pit. It is generally advised to keep the pit approximately one foot deep as the finely chopped material for composting will be piled to a height of roughly four inches. So, begin by digging a hole one foot in depth, and dig the width according to your presumed need.

2. Chop the composting material
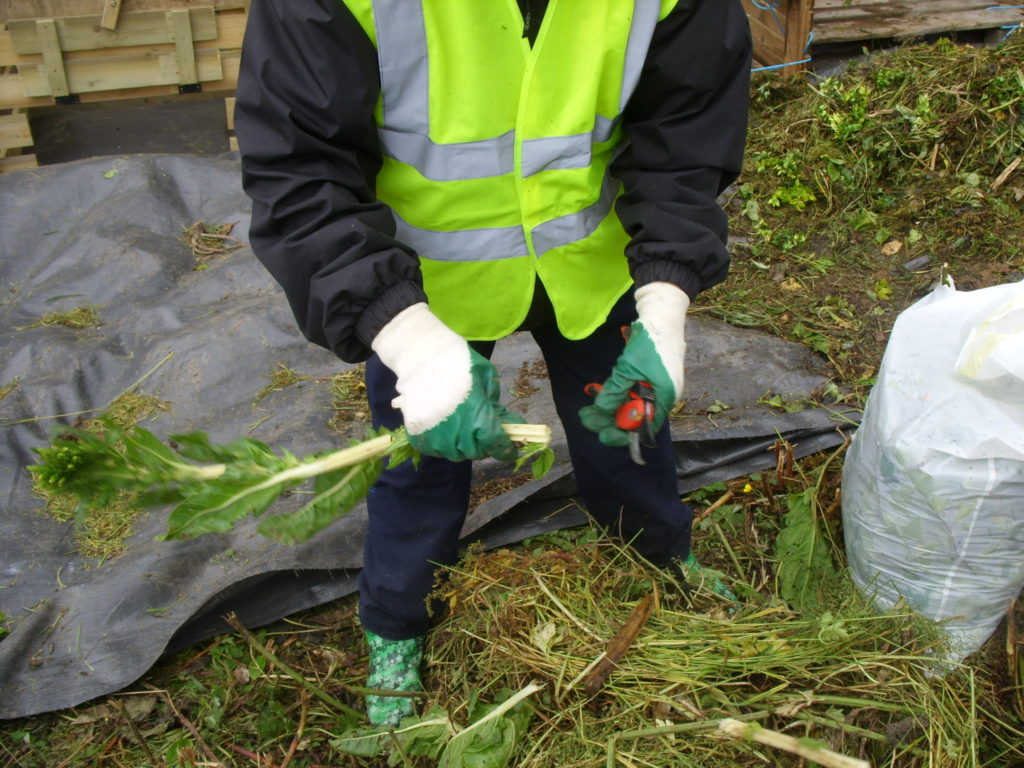
Once you have the hole ready, it is time to prepare the material for composting. Chop the kitchen scraps and other organic material that you are going to add to the compost pit using a knife. You can even go a step ahead and pulverize the material using a blender so that it becomes easy to break down by the natural elements during the process of composting.

3. Cover the pit with a board and soil
Place a wooden board or any other solid board to cover the hole to prevent anyone from tripping into it. This will also keep the heat in, which occurs naturally during the composting process. Most important of all, cover it with soil and keep it moist during the process. As much as possible, keep adding compostable material to the pit. Also make sure to turn over the compost now and again to spread the microbes and heat around that will be working throughout the process.
4. Want to speed up the composting process?
If you’re in a hurry and want to get a nice, usable compost as quickly as possible, consider that your compost should have carbon to nitrogen ratio of about 20:1. added to it. What kinds of carbon-rich materials can you use? Try corn stalks, straw, dry leaves, sawdust, and shredded paper. For nitrogen-rich materials you should include kitchen scraps, fresh prunings from your garden, alfalfa hay, grass clippings and seaweed. In addition to carbon and nitrogen rich substances, you should also add super hungry micro-organisms which help to further break down the compostable material. The product Super Hot is an organic activator that contains microorganisms that you can easily add to your compost.
With these simple steps you can ensure a permanent supply of compost for your gardening endeavors throughout the year!
And, if creating composting at home to create an amazingly productive garden wasn’t enough, you can also feel great that your activities reduce the amount of material that usually goes to waste in municipal landfills, thus reducing the expense involved in waste collecting, handling, and transportation. Remember, the process of composting generally takes some time to complete. In fact, it might take somewhere between six months to a year for completion (unless you make copious use of suggestion #4 above). So you need to prepare well in advance while creating the compost pit.
So, are you geared up and ready to give it a go? Try out these tips to dig a compost pit at home and share the experience with us. We’d love to hear your stories!


Recent Comments